Since the lockdown measures came into place to weather the global pandemic, there have been countless articles circling the internet relating to home workouts. With gyms closed, people still need to get their fitness fix.
But unlike gyms, homes don’t tend to have space – nor indeed the equipment – for a complete setup, which is why the majority of home workouts revolve around using bodyweight or an easy-to-acquire set of dumbbells or resistance bands.
So what do you do if you want to take your home workouts to the next level? You build your own god damn squat rack is what. It should be relatively easy to find barbells online to have delivered, but racks to sit them on are a little tricker (not to mention expensive). Fortunately, the internet has once again proven to be a saviour in this time of need, with video tutorials showing you how to make your very own.
The video in question comes from YouTube user As Many Reviews As Possible, also known as Joel Te (although Joel admits he got the idea from another YouTube user himself). Joel managed to source all the materials he needed 50 US dollars. We’ve checked the Bunnings online store for the same materials and totalled them up to $90.
Joel admits in his video that he’s not the handiest of men, but even he was able to build his rack to good quality. The fact he’s able to use it comfortably on a daily basis speaks volumes, so we have every bit of confidence in you, the DMARGE reader, that you’ll be able to build one too.

All you’ll need is several pieces of timber cut to various lengths. The actual lengths you’ll require will depend on your height. Of course, being American, Joel uses pieces of 2 x 4, but that doesn’t exist in the same vein here in Australia. Going by his video, you’ll need around 14-metres of timber, but to be safe, you’ll want to grab three pieces of this 6.0-metre 90mm x 35mm timber, but then cut them into the different lengths required for the different post heights.
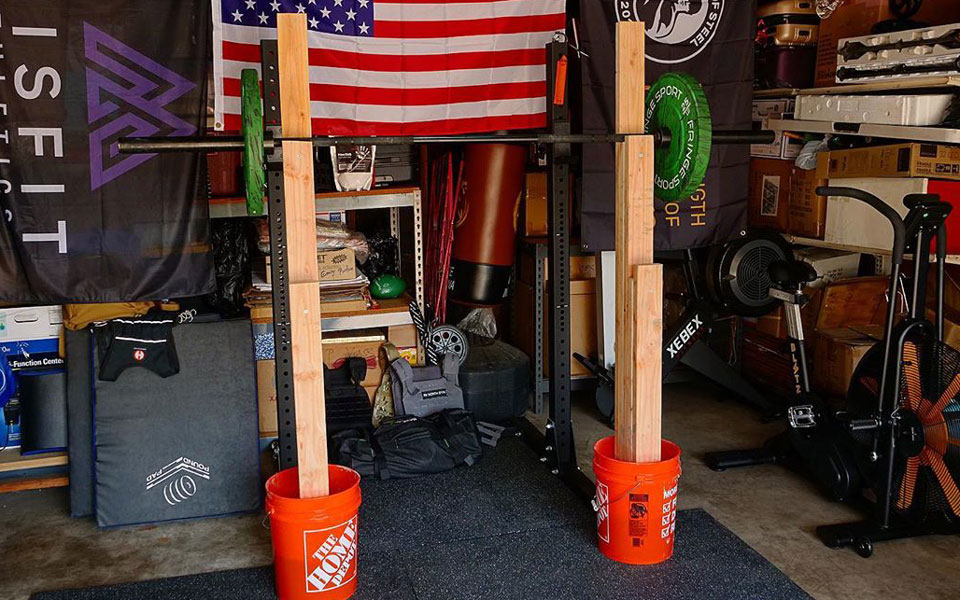
You’ll need one set of posts at the back, a second, slightly lower set to rest the barbell on and then a third lower set to again rest the barbell on, but low enough so that could feasibly use it for bench presses. You’ll also need some wood screws, wood glue and some fast-setting concrete, to set the posts in.
We won’t write out the entire process here, we’ll instead point you in the direction of Joel’s video. But rest assured, it looks to be a pretty simple process of just glueing and screwing together several pieces of wood and sticking them in buckets of concrete. Simple.
You self-isolated gains await.