Ah, the good old days – when you could throw your dress shirt in a crumpled heap on the floor and your mother would iron it back to perfection. Or the even better, even older days – when a valet would care for his gentleman’s togs and ensure they were always in first-class shape. Ever wondered how to iron a shirt?
In This Story…
The Lowdown: How To Iron A Shirt
Those times are long gone, but smart shirts remain a necessity and your options are limited. Buying new shirts every time the old ones get unwearable is expensive. Visiting the dry cleaner every few days is impractical. Which leaves just one alternative: learning to iron your own damn shirts.
If the idea is new to you, this guide is your primer. If you’re already somewhat adept, we hope you’ll find a fresh trick or two and soon become a master in the art of the iron.
What You Need
Luckily, a crisp shirt is only a few tools away, and none are particularly expensive or difficult to find.
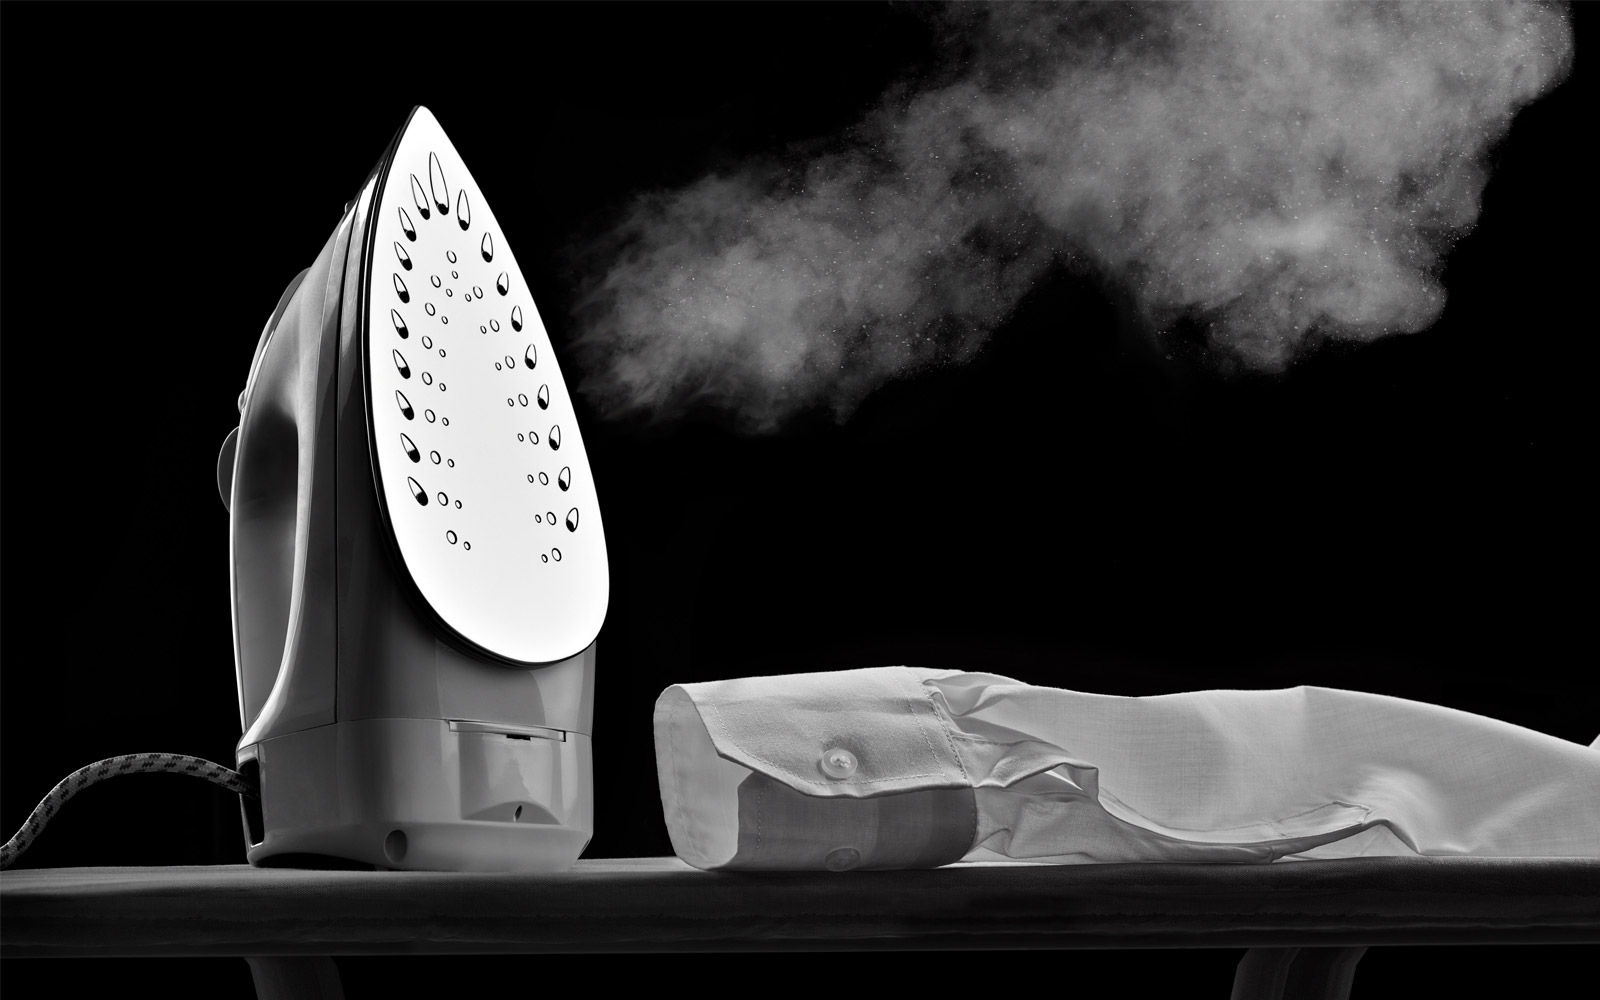
The Iron
Duh. This might be the most obvious first step in the history of first steps. It doesn’t have to cost a fortune, but do avoid the $20 cheap-o you found in the bargain bin. An iron is worth investing in. Look for one with high heat capability – it’ll cut your ironing time in half, and some common fabrics require hotter temps in order to reform their shape. The soleplate should be solid, smooth, clean and made from a reputable material (steel, titanium coated, cast iron with aluminium). Finally, make sure it has an effective steam delivery system. Your more delicate fabrics will thank you.
The Ironing Board
Is it sturdy? Is it a comfortable height? Does it have a nice cover and pad? Buy it. Cost doesn’t matter, as long as you’re getting the basics you need. Pro tip: put a thick towel over the board if you want some extra padding for your shirt, or slip a piece of foil under the cover to reflect the iron’s heat back and iron both sides of the shirt at once (just beware of burning).
Water (And A Water Delivery Method)
Water in the iron is a must. Water = steam = an all-round happier ironing experience. If your iron doesn’t have a built-in steam function, get a spray bottle to spritz water over your shirt before ironing. A spray bottle (ideally not the same one) can also be used for starch when you want that extra crisp look.
A Towel
It’s not a necessity, but it can come in handy. A towel can be used as an ironing board pad, as mentioned above, or rolled inside sleeves as a makeshift sleeve board. At the very least, it can be used to clean up excess water sprayed on the garment.
The Steps
And now the real work begins. This is the part where you start thinking you should call your mother and thank her for all that selfless effort she put in over the years. The best way to iron a dress shirt is to break it down into its component parts:
Step 1 – The Collar
Pop it. Starting with the underside, iron from one point to the other. Press any stubborn wrinkles to the bottom, where they’ll be less visible. Then flip the shirt over and repeat on the outside.
Step 2 – The Cuffs
Unbutton the cuffs and lay them flat. Iron the inside first, then the outside, in a motion that moves the wrinkles to the edges of the fabric. Note: never iron over buttons, as it can leave an unsightly mark.
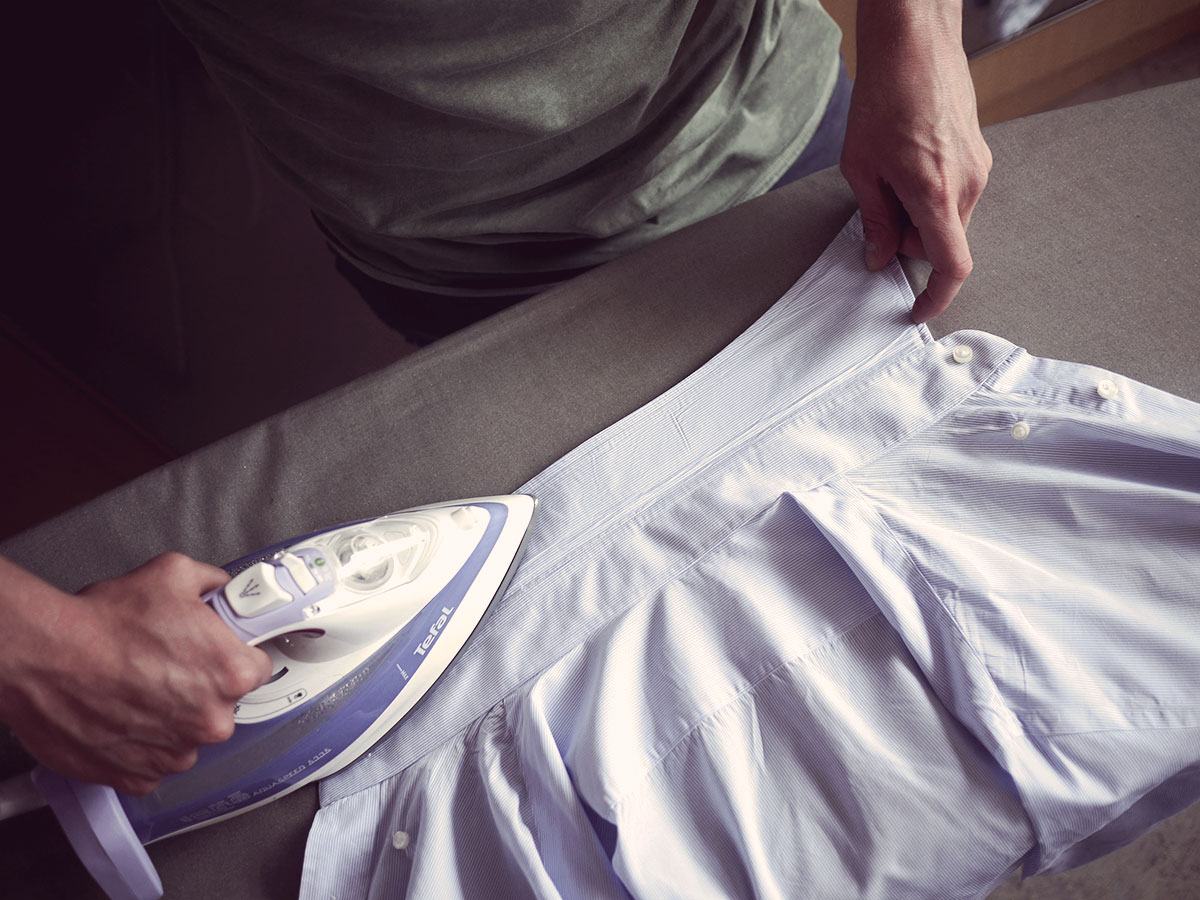
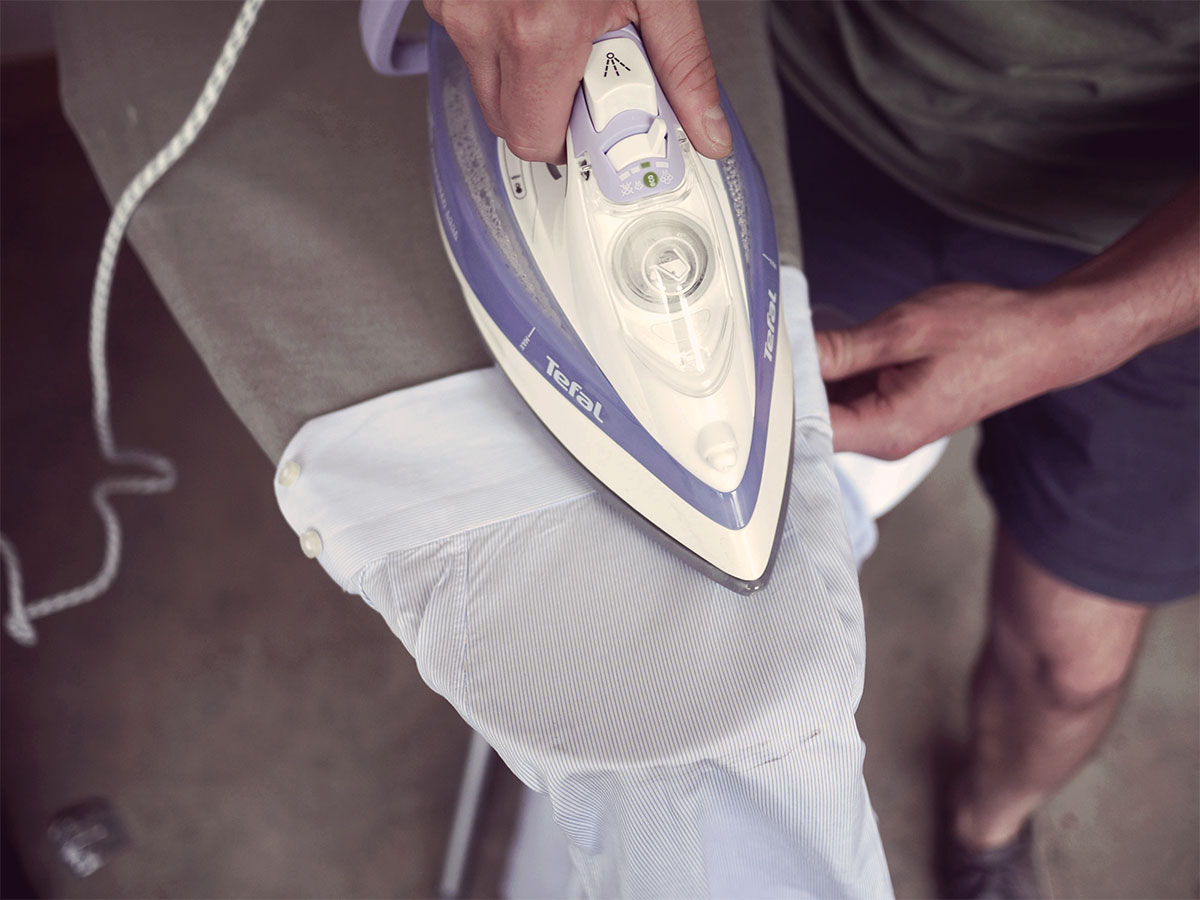
Step 3 – The Front
Beginning with the button side, manoeuvre the iron around the button area. Then work your way downward from the top of the shoulder and, when finished, repeat on the other side. If you have a placket, press the material under it with the iron point and then press over the top.
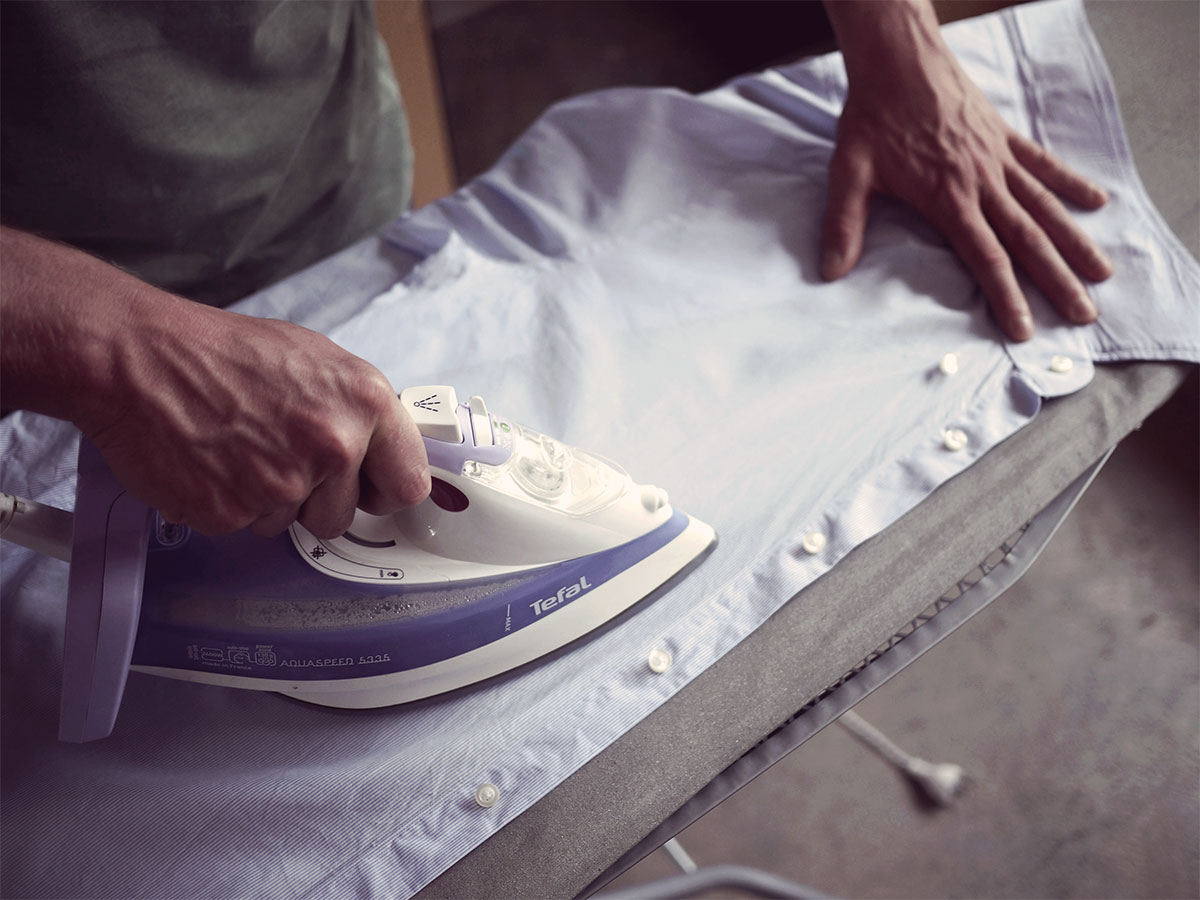
Step 4 – The Back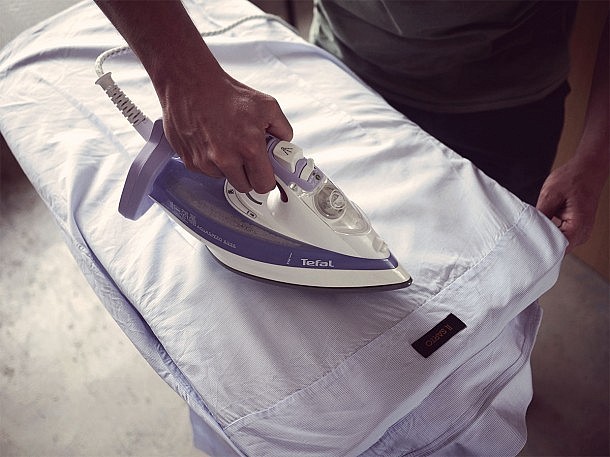

Iron the back inside-out. Your best bet is to apply maximum pressure for a short period of time, starting at the top and moving the iron down to the bottom.
Step 5 – The Sleeves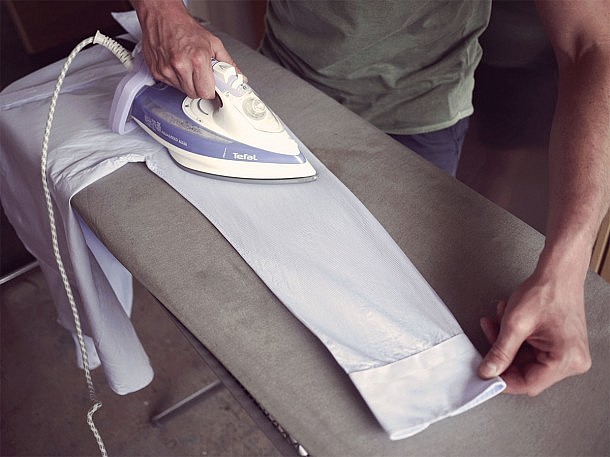

Save the best hardest for last. Your sleeves must be laying flat and smooth before they’re hit with the heat. A sleeve board ensures you’re not ironing two layers of fabric at once, making the task significantly less tricky. Take the sleeve by the seam and lay it out. Iron at the top of the sleeve and slowly work your way down to the cuff. Then turn the sleeve over and iron the back. Repeat for the second sleeve.
NOTE: Some say you should do the sleeves first. This is a personal preference.
Step 6 – Hang It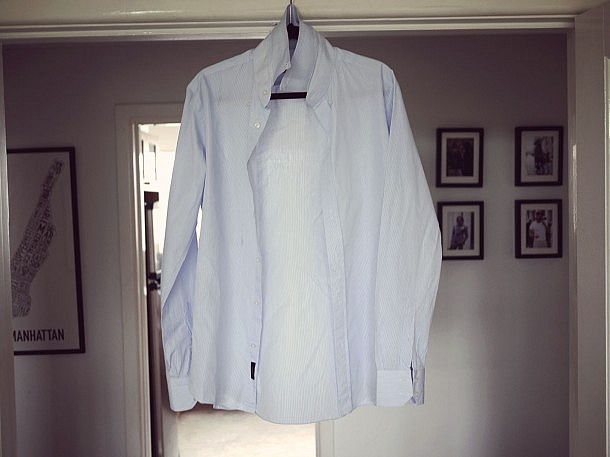

Now hang the shirt properly – on a hanger, in a closet, not on the back of a chair – before you undo all your hard work, you animal.
EXPERT TIP – Andrew, Cecil Shirtmaker
“If your collar is made using the traditional English (non-fused) method, make sure you iron from the outside edge in to avoid the unsightly wrinkles.”
How To Iron A Shirt FAQ
[wp-faq-schema]